

THROWING TARGET SYSTEM
CONTROL UNITS MANUAL
Here's how to use the control unit at our clay pigeon shooting ranges: turn it on, select the correct range, book a round, and launch the clay pigeons. Follow the on-screen prompts that appear on the display for each step.
- Turning on the Control Unit
- Change Range
- Book a Series
- Simultaneous doublets
- Set the time delay
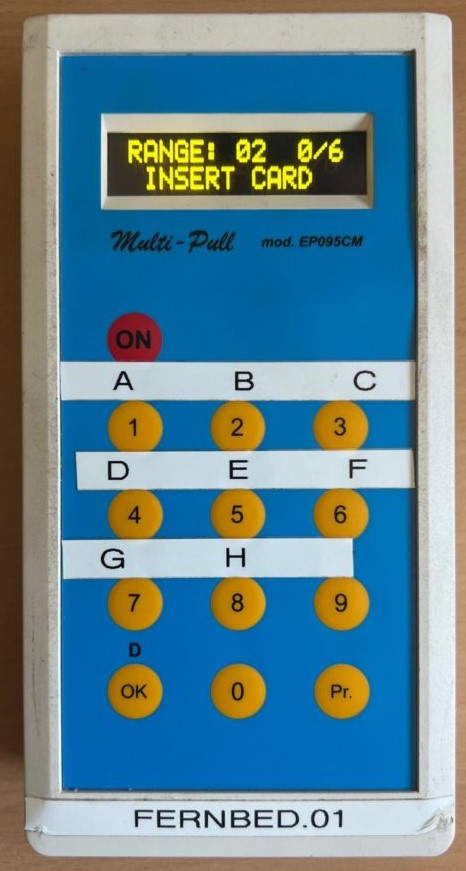
OVERVIEW
WHICH RANGE BELONGS TO WHICH CLASS?
| Status | Range |
|---|---|
| Page 1 | Range 11 |
| Booth 2 | Range 02 |
| Stand 2: Young Hunters | Range 08 |
| Booth 3 | Range 03 |
| Stand 3: Young Hunters | Range 09 |
| Status | Range |
|---|---|
| Booth 4 | Range 04 |
| Page 5 | Range 05 |
| Gorge | Range 10 |
| Hole | Range 12 |
STEP BY STEP
HOW TO USE THE CONTROL UNIT
01 – TURNING ON THE CONTROL UNIT
- Set the toggle switch on the right side to “I”
- Then press the "ON" button

02 – CHANGE RANGE
- Press the "Pr" button
- Confirm by clicking "OK"
- Enter the desired range and confirm with “OK” —the new range will appear on the display


03 – BOOK A SERIES
! IMPORTANT ! Make sure you've set the correct "range" for your booth—you won't be able to change it after booking.
- Insert the card into the card slot with the chip facing up
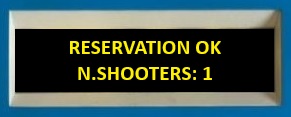
- Press the "OK" button in the lower-left corner—a confirmation message will appear
- Remove the card – "Insert Card" appears on the display
- Press “OK” again—the series you booked will appear
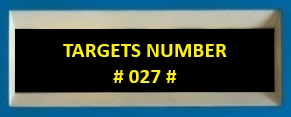
- Select the desired clay pigeons using any keys


04 – Simultaneous Doubles
- Press "OK"
- Choose which clay pigeon to throw first
- When the second pigeon is selected, both are released simultaneously
- Clicking "OK" will cancel the drop

05 – TIME DELAY
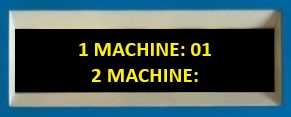
- To delay the release, press the "0" button
- Use “1” (one second less) and “2” (one second more) to set the time
- Confirm by clicking "OK"

KEYS AT A GLANCE
- "ON" – Turn on the device (set the toggle switch to "I" first)
- "Pr" – Change Range
- "OK" – Confirm, Schedule Series, Cancel Drop
- "0" – Open with a time delay
- "1" / "2" – Decrease or increase by one second
ANY MORE QUESTIONS AT THE BOOTH?
Our booth staff will be happy to assist you—just ask before you book a session. The Shooting Park’s range rules apply.